
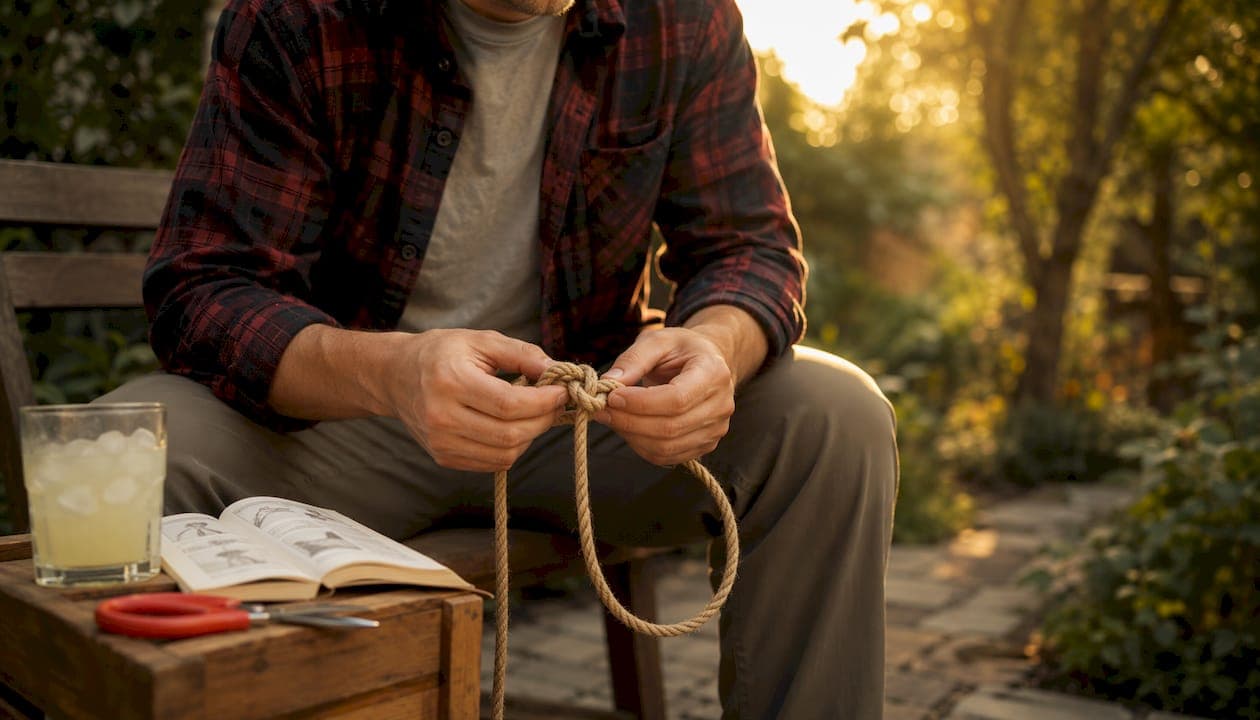
Rope bondage, also called rope play, is the practice of using rope to restrain, wrap, or suspend a person, most commonly within BDSM dynamics for erotic, aesthetic, or emotional purposes. Before you touch a single length of rope, get this straight: consent is non-negotiable, and a pair of EMT shears within arm's reach is not optional. The practice spans a wide range of styles and intentions:
- Simple restraint — wrists or ankles tied for light restriction during play
- Decorative harnesses — chest or body wraps worn for aesthetic or sensory effect
- Shibari-style art ties — pattern-driven, emotionally focused work rooted in Japanese tradition
- Suspension — an advanced technique requiring in-person, teacher-led training before any attempt
Table of Contents
- Where does rope bondage come from?
- What are the main styles of rope bondage?
- What rope and gear do you actually need?
- How do you start tying? Three beginner-safe techniques
- Safety and consent: the rules that aren't optional
- Your beginner checklist before the first scene
- What does aftercare look like after a rope scene?
- Why tying is about more than the knots
- Where can you actually learn rope bondage?
- Key Takeaways
- The part nobody tells you about rope
- Find rope classes and kink-friendly spaces on Kinkykorner
- Useful sources and further reading
Where does rope bondage come from?
Rope bondage has roots in multiple cultures, and anyone who tells you it started in one single place is oversimplifying. The most widely recognized tradition is Japanese: Shibari (literally "to tie") and Kinbaku ("tight binding") developed as distinct art forms, drawing on aesthetic principles of tension, pattern, and emotional exchange between partners. Western rope bondage evolved along a more functional path, prioritizing practical restraint and sensation over visual artistry.
A common misconception worth killing early: Shibari did not originate from samurai martial-arts rope techniques in any clean, direct line. The actual history is layered, contested, and still being researched by practitioners and historians. What matters for you as a beginner is this: Japanese rope traditions carry cultural weight and living lineage. Seek teachers who acknowledge that context rather than treating Shibari as a generic aesthetic.
What are the main styles of rope bondage?
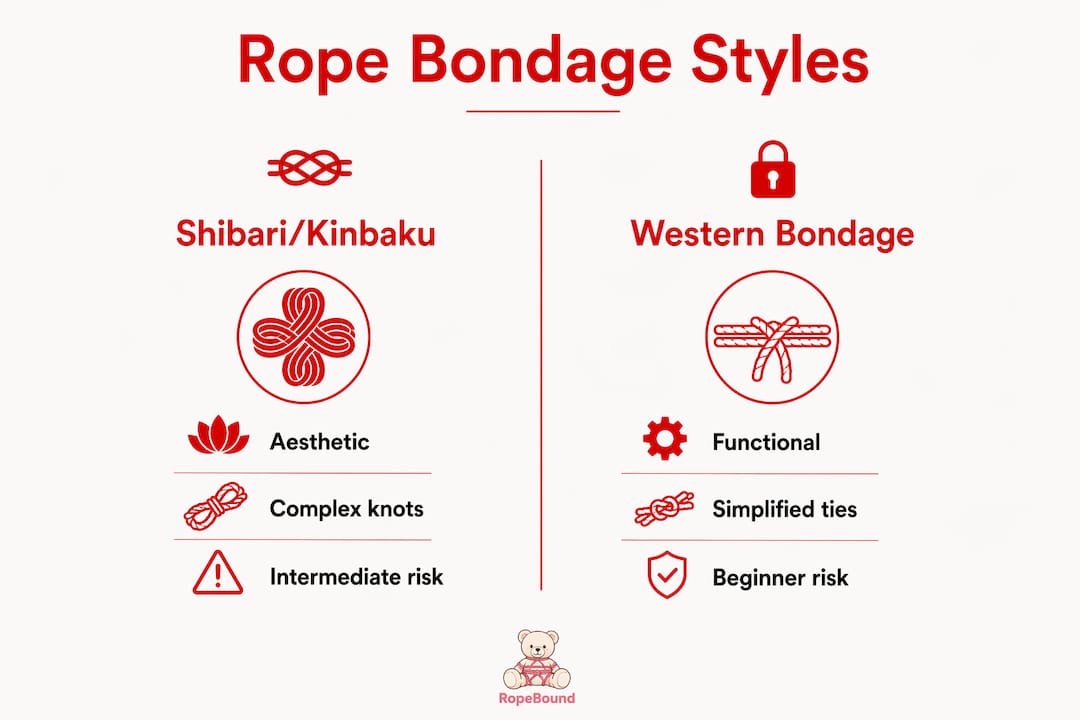
Japanese rope bondage and Western functional bondage are the two dominant schools, with string or constriction techniques occupying a narrower, sensation-focused niche. Here's how they break down:
- Shibari/Kinbaku: Pattern-driven, emotionally focused, and deeply communicative. The visual result matters, but so does the experience of being tied. Requires more training time and cultural awareness.
- Western functional bondage: Prioritizes restraint and sensation over aesthetics. Ties like the double-column and hogtie are practical, faster to learn, and common in North American kink communities.
- String/constriction techniques: Thin cord or string used for targeted sensation, pressure, or decorative detail. Higher nerve-damage risk due to reduced surface area.
| Style | Primary Goal | Typical Ties | Risk Level | Time to Learn |
|---|---|---|---|---|
| Shibari/Kinbaku | Aesthetic + emotional | Chest harness, hip harness | Moderate–High | Long (months to years) |
| Western functional | Restraint + sensation | Double-column, hogtie | Moderate | Shorter (weeks to months) |
| String/constriction | Sensation + pressure | Finger ties, decorative detail | Higher | Varies |
Pro Tip: If Shibari is what draws you in, find a lineage-aware teacher, not just a YouTube tutorial. The cultural context is part of the practice, not a footnote.
What rope and gear do you actually need?
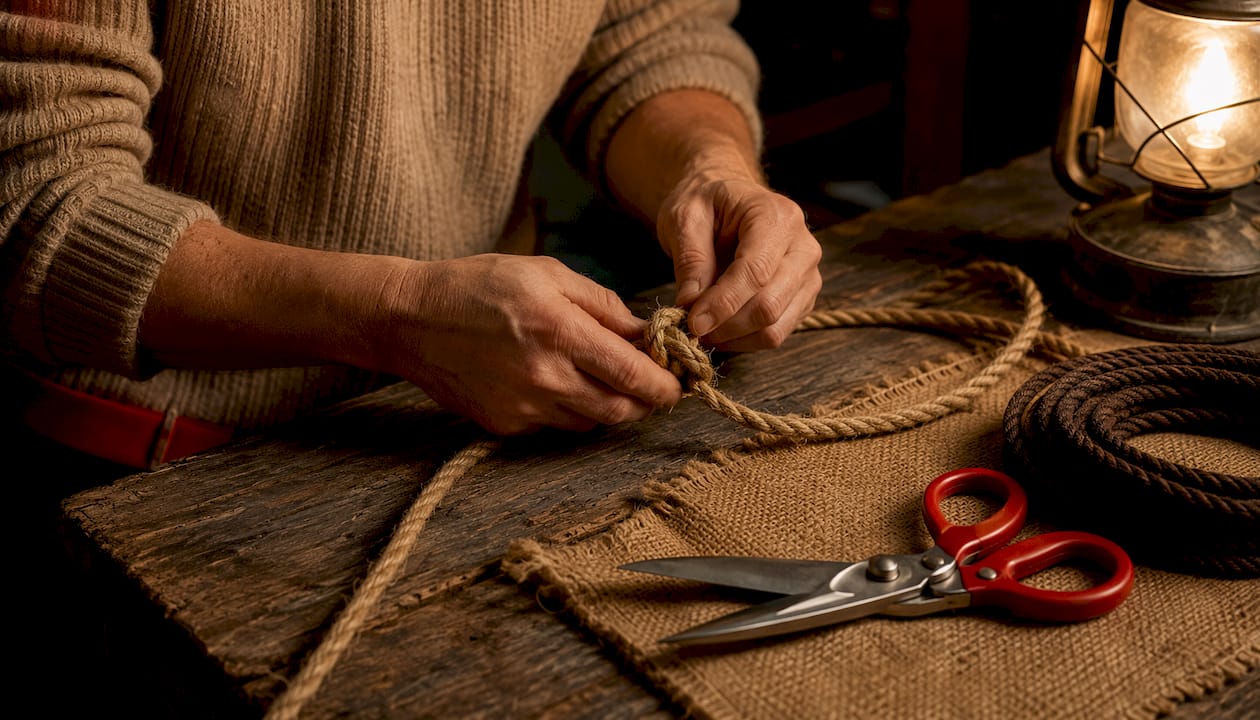
The rope you buy matters more than most beginners expect. Texture, diameter, and fiber type all affect how a tie feels, holds, and releases in an emergency.
Common fiber types:
- Jute: The traditional choice for Shibari. Excellent grip and texture, holds knots well, but requires conditioning and can be rough on sensitive skin.
- Hemp: Similar to jute, slightly softer. Also needs conditioning. Preferred by many intermediate practitioners.
- Cotton: Soft, skin-friendly, and easy to wash. Less grip than natural fibers, but forgiving for beginners.
- MFP (multifilament polypropylene) / synthetic: Affordable, easy to clean, and smooth. Low grip means knots can slip, so check tension frequently.
For beginners, cotton or MFP around 6mm is the standard recommendation. Softer fibers are more forgiving while you're still building tension habits.
| Spec | Beginner Recommendation | Notes |
|---|---|---|
| Diameter | Comfortable on skin; thicker for larger wraps | |
| Length per piece | Suitable lengths for individual ties | Multiple shorter lengths beat one long rope |
| Number of pieces | Several to start | Gives flexibility without overwhelming you |
| Fiber | Cotton or MFP | Easier to handle; upgrade to jute/hemp later |
Safety hardware you must have:
- EMT/rescue shears: Keep them within arm's reach at all times. Never rely on untying in an emergency. Cutting is the only reliable release.
- Phone within reach: In case of medical emergency.
- Carabiners and anchor points: Only relevant if you're rigging for suspension, which is advanced territory.
Pro Tip: Buy two pairs of EMT shears. Keep one clipped to your rope bag and one near the scene space. If you can't reach them in three seconds, they're in the wrong place.
How do you start tying? Three beginner-safe techniques
Start here. These three ties are the foundation of almost everything else in rope bondage, and you can practice all of them on a pillow before you ever tie a person.
Single-column tie (one wrist or ankle)
- Find the midpoint of your rope and fold it in half.
- Wrap the doubled rope around the wrist (or pillow) twice, leaving a finger's width of space.
- Pass the working ends through the loop between the two wraps.
- Cinch by pulling the working ends through the wrap, perpendicular to the column.
- Tie off with a square knot or half-hitches. Check the two-finger rule: two fingers should slide easily between rope and skin.
Double-column tie (two wrists or ankles together)
- Repeat steps 1–3 from the single-column tie, wrapping around both columns together.
- Add a cinch wrap between the two columns to separate and stabilize them.
- Tie off and check tension on both sides independently.
Basic chest harness (simplified)
- Find the midpoint of a longer rope (25 feet minimum).
- Place the midpoint at the center of the chest and wrap both strands around the torso twice, above and below the chest.
- Bring the working ends over the shoulders and connect to the back wraps.
- Tie off at the back. Check that you can slide two fingers under every wrap.
Avoid these areas entirely: inner wrist, inner elbow, front of the neck, armpits, and the backs of the knees. Nerves and blood vessels run close to the surface in all of these spots.
Pro Tip: Practice each tie 10–15 times on a pillow before tying a partner. Muscle memory for consistent tension is what separates a safe tie from a dangerous one.
Safety and consent: the rules that aren't optional
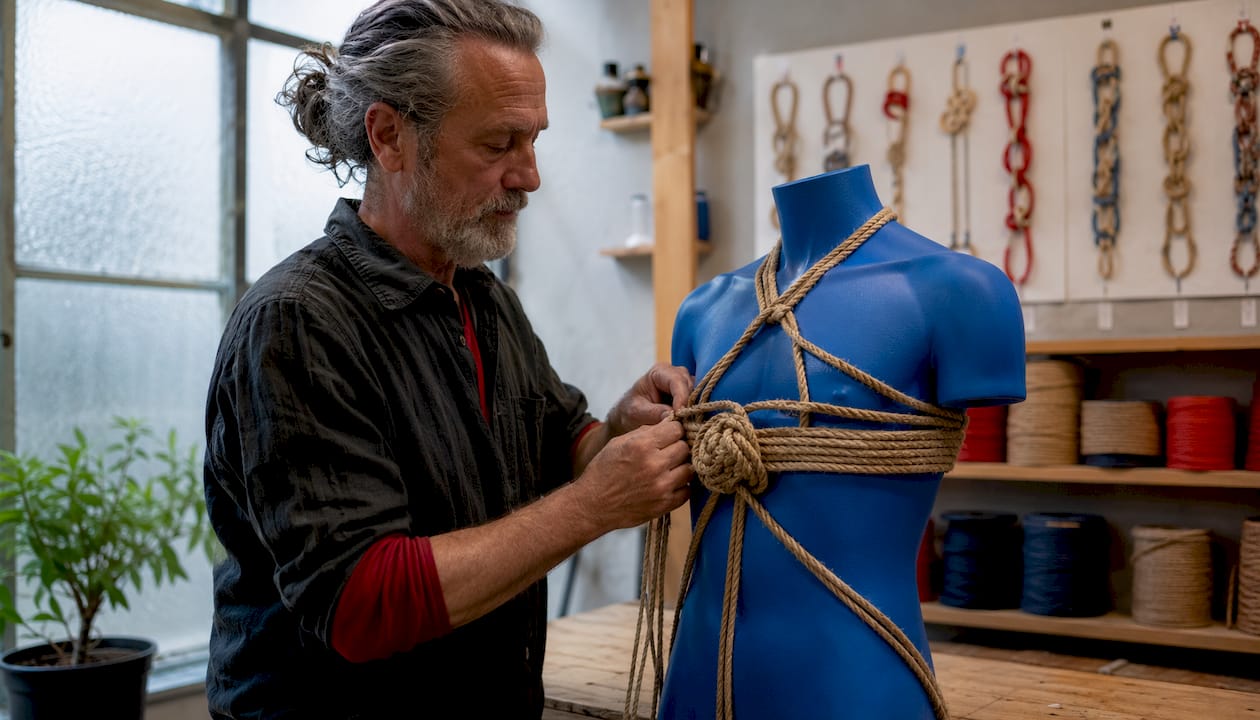
Safety and consent come before technique, full stop. Rope bondage carries real risks, including nerve damage and circulation problems, and those risks are manageable only when both partners are informed, communicative, and prepared.
Consent and negotiation before every scene:
Discuss limits, medical conditions (circulation issues, joint problems, anxiety), and check-in preferences before you tie anyone. Agree on a safeword system. The standard is the traffic-light method: "green" means good, "yellow" means slow down or check in, "red" means stop immediately. For situations where the tied person can't speak, establish a nonverbal signal, like dropping a held object or tapping three times.
Medical risks to know:
Nerve compression is the most common injury in rope bondage. The radial nerve (running along the outer forearm) and the peroneal nerve (outer knee) are especially vulnerable. Symptoms include tingling, numbness, or weakness. If your partner reports any of these, release the tie immediately. Circulation restriction shows up as color change (pale or purple), temperature drop, or swelling.
The two-finger rule is your baseline check: slide two fingers between rope and skin at every wrap. If you can't, the tie is too tight. Check every 10–15 minutes during a scene, not just at the start.
Emergency release sequence:
- Stay calm and communicate clearly with your partner.
- Grab your EMT shears.
- Cut the rope at the point of concern, working away from skin.
- Remove the rope and assess circulation and sensation immediately.
- If symptoms persist after release, seek medical attention.
Suspension is a category apart. Never attempt suspension without qualified, in-person training. The forces involved are entirely different from floor-based ties, and the margin for error is much smaller.
Your beginner checklist before the first scene
Getting started safely means more than buying rope. Here's what to have in place:
- Rope: 4–6 pieces of 6mm cotton or MFP, each 15–25 feet long
- EMT shears: Two pairs, both accessible during the scene
- Phone: Charged and within reach
- Safeword agreement: Verbal and nonverbal signals confirmed before you start
- Medical check-in: Both partners disclose relevant conditions (nerve issues, circulation problems, anxiety)
- Practice surface: A pillow or foam roller for solo knot practice
- No alcohol or substances: Both partners sober for all early sessions
For community learning, the etiquette is simple: ask before you touch anyone's rope or body, credit the teachers and traditions you learn from, and acknowledge the cultural origins of Shibari when you practice it. These aren't just politeness rules. They're how the community stays safe and honest.
Suggested first four sessions:
- Session 1: Single-column tie on a pillow, 15 repetitions
- Session 2: Single-column tie on a partner's wrist, with full consent negotiation
- Session 3: Double-column tie, practice and partner
- Session 4: Basic chest harness on a pillow, then review with a teacher or experienced rigger
What does aftercare look like after a rope scene?
Aftercare is physical comfort plus emotional check-in, and it starts the moment the last rope comes off. This isn't a nice-to-have. Rope scenes can produce intense emotional release, and both partners need time to come back to baseline.
Practical aftercare steps:
- Check all contact areas for marks, numbness, or color changes
- Offer warmth: a blanket, warm drink, or physical closeness if wanted
- Hydrate: both partners, not just the person who was tied
- Gently massage areas where rope made contact, checking for lingering sensation changes
- Emotional check-in: ask open questions ("How are you feeling right now?" "Is there anything you need?")
- Allow at least 10–30 minutes of quiet, low-demand time before either partner leaves or moves on
Pro Tip: A short journal entry after a scene, even just three sentences, helps you track what worked, what felt off, and what you want to try differently. Over time, that log becomes a real map of your practice.
Why tying is about more than the knots
Many educators describe rope tying as a meditative, communicative practice where the act of tying is as important as the finished tie. The slowness is the point. Each wrap is a decision, a check-in, a moment of attention directed entirely at another person.
That framing changes how you approach the whole practice. You're not just learning knots. You're learning how to pay attention, how to read a body, how to communicate without words. Trust in BDSM is built in exactly these slow, deliberate moments.
A short practice to make tying more communicative: before you start, name your intention out loud ("I want to practice the chest harness and check in every few minutes"). During the tie, narrate what you're doing and invite feedback. Pause at each new wrap. After, name one thing you noticed about your partner's response.
Where can you actually learn rope bondage?
The best learning happens in person, with a teacher who can see your tension, correct your placement, and stop you before a mistake becomes an injury.
Learning formats to look for:
- Beginner workshops: Usually 2–3 hours, covering one or two foundational ties with hands-on feedback. Great starting point.
- Private lessons: One-on-one with an experienced rigger. More expensive, but faster skill development and more personalized safety guidance.
- Rope jams and community meetups: Informal practice sessions where you can watch, ask questions, and practice alongside more experienced people. Common in most major U.S. cities.
- Teacher-led suspension courses: For advanced work only. These should require demonstrated floor-work competency before enrollment.
How to vet a teacher or class:
- Ask directly about their safety training and how they handle emergencies
- Look for transparency about their lineage and training history, especially for Shibari
- Check whether they require consent negotiation as part of their curriculum
- Ask for references from past students
- For suspension specifically, confirm they carry liability insurance
Online resources can supplement in-person learning, but treat them as reference material, not primary instruction. Sites like TheDuchy offer detailed tutorials with safety context. Use them to review techniques you've already learned in person, not to learn suspension from scratch.
Key Takeaways
Rope bondage is safe, expressive, and deeply rewarding when you start with the right gear, a clear consent framework, and in-person instruction for anything beyond basic floor ties.
| Point | Details |
|---|---|
| Consent is the foundation | Negotiate limits, safewords, and medical conditions before every single scene. |
| Two-finger rule, always | Slide two fingers under every wrap; check every 10–15 minutes during a scene. |
| EMT shears are non-negotiable | Keep rescue shears within arm's reach; never rely on untying in an emergency. |
| Start simple, progress slowly | Master single-column and double-column ties before attempting harnesses or suspension. |
| Kinkykorner for local resources | Use Kinkykorner to find local rope classes, workshops, and kink-community events near you. |
The part nobody tells you about rope
Here's what I think gets lost in most beginner guides: the technical stuff is the easy part. You can learn a single-column tie in an afternoon. What takes real time, real honesty, and real courage is the communication layer underneath it.
Rope has a way of exposing exactly how well you and your partner actually listen to each other. A tight wrap you didn't check. A check-in you skipped because the scene felt good. A safeword you both agreed on but never actually tested. These aren't just safety gaps. They're relationship gaps. And rope, more than almost any other kink practice, makes them visible fast.
My honest take: prioritize the conversation over the knot, every time. The most technically skilled rigger I've ever seen described was someone who stopped mid-tie to ask a question. That pause, that willingness to interrupt the flow for a real check-in, is what separates a practitioner from someone who just owns a lot of rope. Learn in community. Credit your teachers. Go slow.
Find rope classes and kink-friendly spaces on Kinkykorner

If you're ready to move from reading to doing, Kinkykorner is where you find the people and spaces that make that possible. The marketplace lists local rope instructors, beginner workshops, private riggers, and kink-community events across the U.S., all in one place. No cold searching through vanilla event sites or hoping a Reddit thread is still current.
Browse listings, read provider profiles, and connect directly with teachers who are transparent about their training and safety practices. For providers and instructors, listing your services on Kinkykorner puts you in front of an audience that's already looking for exactly what you offer.
One reminder: in-person instruction is the standard for anything beyond basic floor ties. Kinkykorner helps you find that instruction. It doesn't replace it. Start your search at kinkykorner.com and find a class, a community night, or a private lesson near you.
Useful sources and further reading
These resources are worth bookmarking as you build your practice. Prioritize lineage-aware instructors, safety-first content, and teacher-led workshops for anything involving suspension.
- Rope Bondage in BDSM | Complete Practice Guide (BDSM Path) — Comprehensive reference covering technique, philosophy, and safety. Good for grounding your practice in broader context.
- Expert BDSM & Rope Bondage Tutorials (TheDuchy) — Detailed step-by-step tutorials with strong safety emphasis. Use to review techniques after learning them in person.
- Rope Bondage & Shibari: Beginner Guide (SparkChambers) — Accessible beginner overview with good coverage of the communicative and meditative dimensions of rope play.
- Rope Bondage for Beginners: A Practical Guide (Le Wand) — Practical buying and practice guidance, including rope specs and the two-finger rule.
- Rope Bondage (Wikipedia) — Useful for historical context and style overview; verify any safety claims against primary sources.
Vetting note: for any online resource, check whether the creator acknowledges safety risks explicitly, discloses their training lineage for Shibari content, and recommends in-person learning for suspension. If a tutorial skips any of those, treat it as incomplete.
This article is general information, not professional medical or legal advice. Confirm current safety practices with a qualified instructor and consult a medical professional for any health concerns before engaging in rope bondage.